
My First Direct QSL Arrived

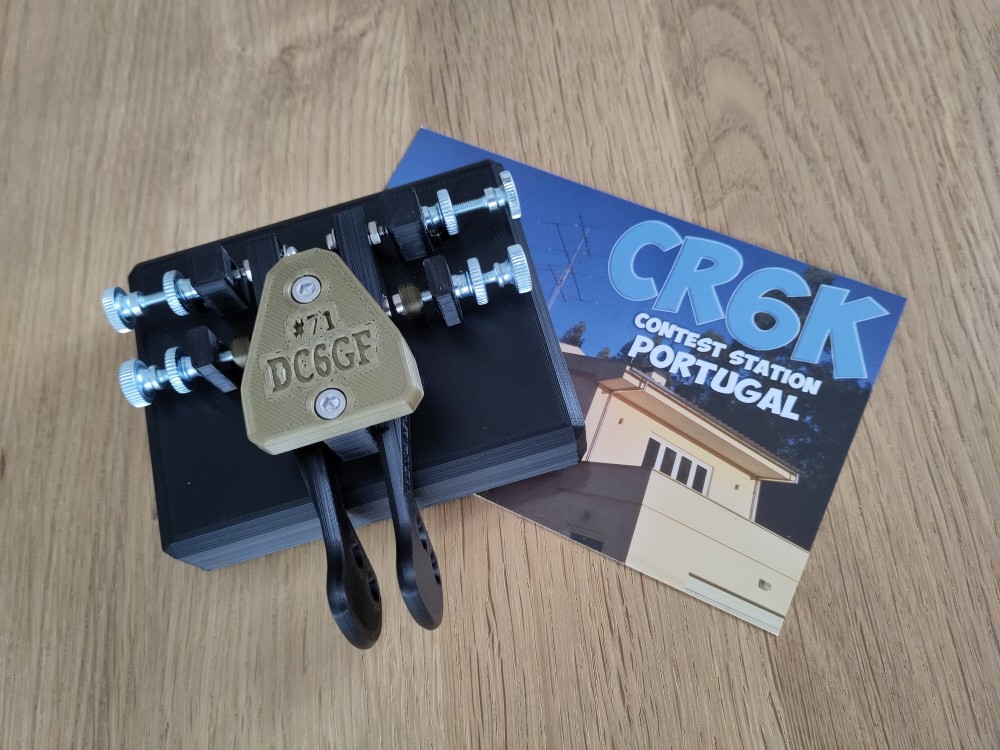
Yesterday a new tool arrived that was still missing for my radio station: A CW paddle made by Filipe, CT1ILT. Now I have no more excuse to not start practicing CW. I wonder how long I need to be ready for my first CW QSO.
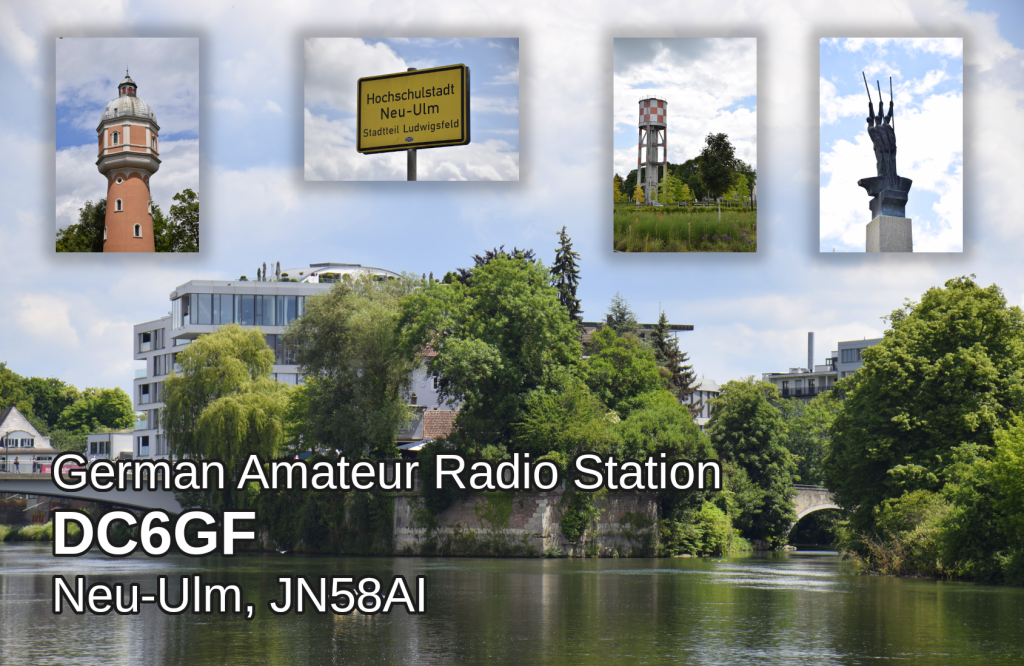
Since winter 2022, I started to bring DC6GF on air again from my new QTH. After a long pause from amateur radio activity, I decided to become QRV on shortwave for the fist time.
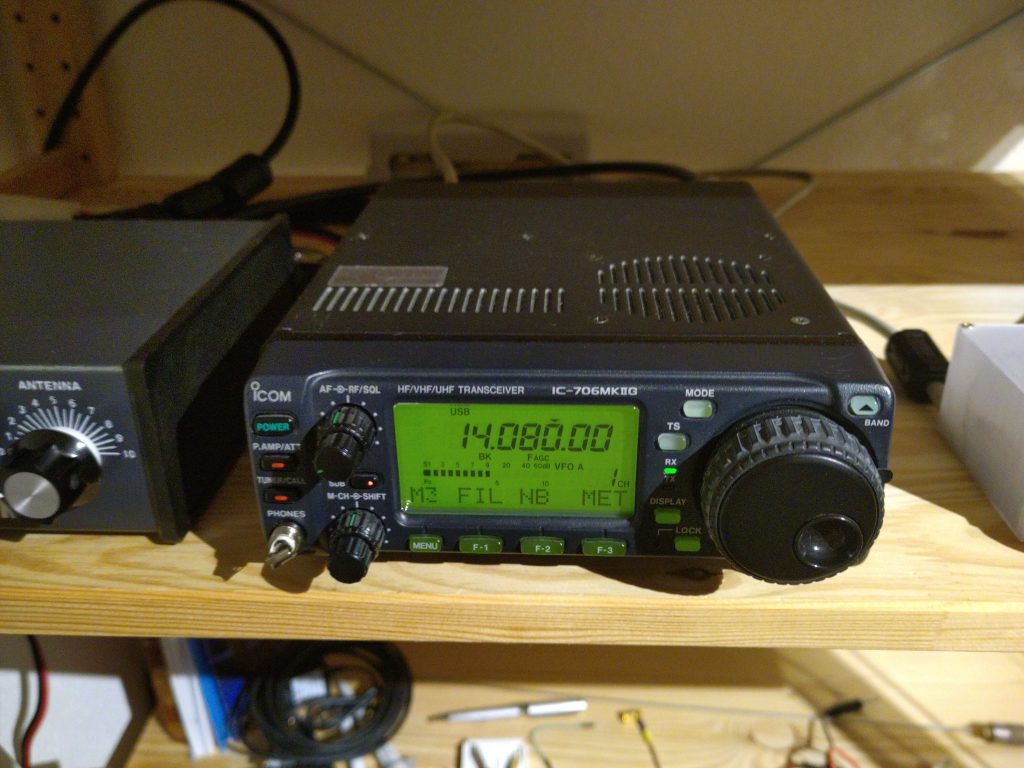
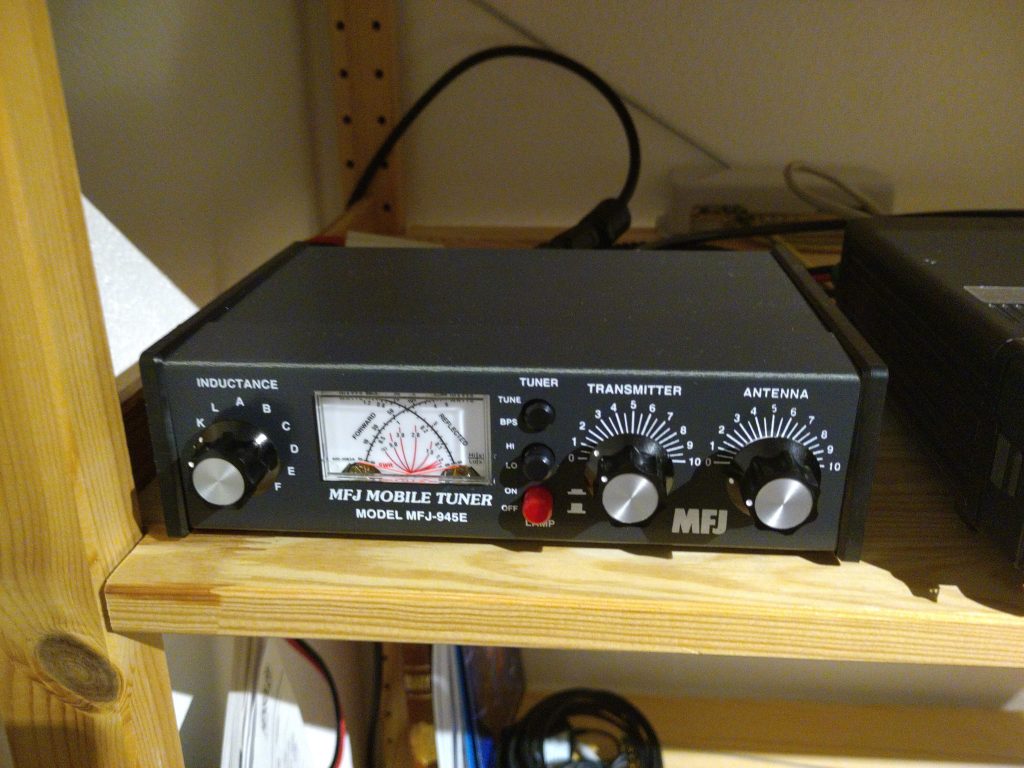
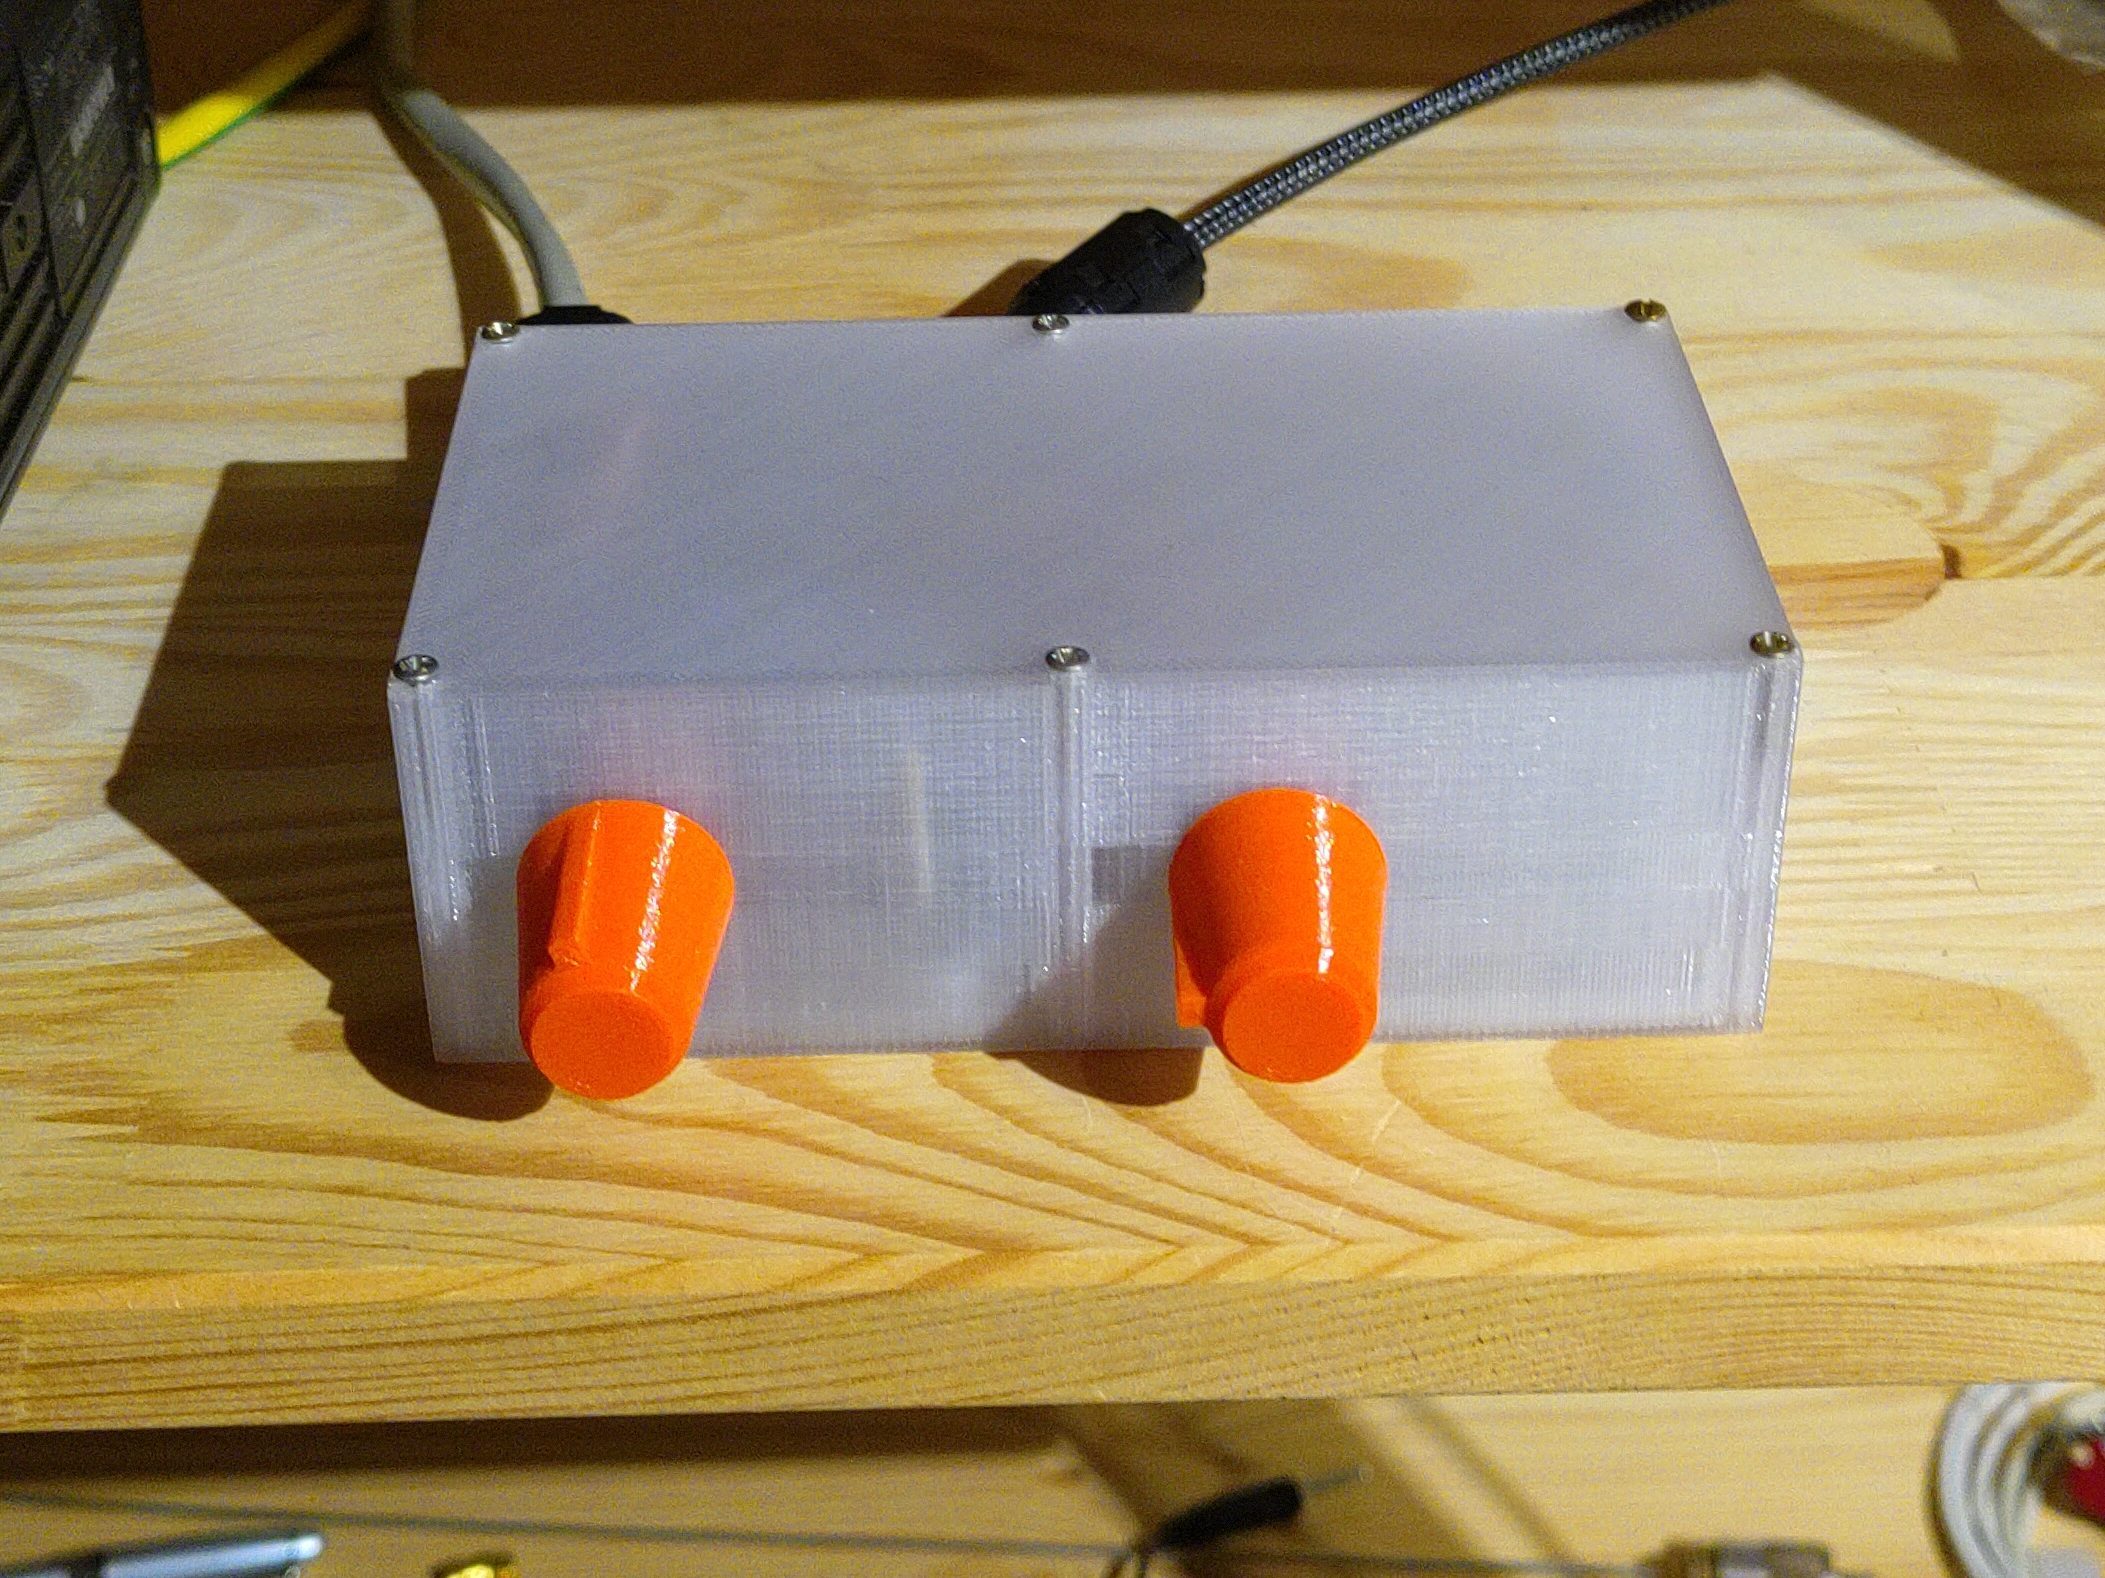
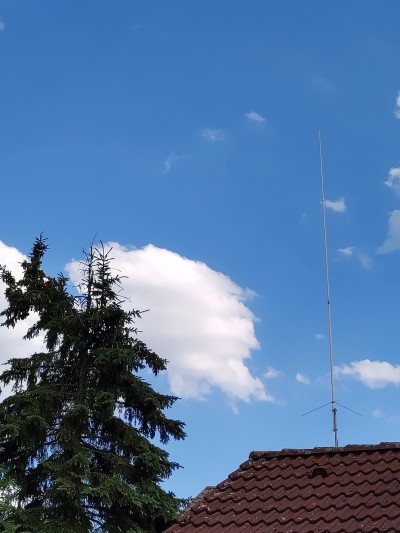
The TRX I use is a IC-706MK2G that I used exclusively on 144MHz until now. The tuner matches the capabilities of the TRX regarding power and the digital interface was improvised from existing components, packaged in a 3D-printed housing. It contains the sound card and the RS-232 interface for PTT control, both attached to one USB port using a small hub. The antenna I use currently is a GPM-1500 but a better one is already available. However, as some adaptions are required, it will be installed after some other projects are done. The cable between the tuner and the antenna is a 7mm type from Messi & Paoloni.
Since my first QSO mid of march 2022, the QSO count in FT8 and FT4 is nearly 1000 and I reached 106 DXCC countries including New Zealand which is about as far as it can get from my QTH. 89 of them are confirmed via LoTW. I also set-up an E-QSL account, however, I did not manage to upload my log.
For most experienced operators, these findings may be obvious but from my short time of activity, I learned the following:
The following things are on my short term agenda:
Nach einem etwas längeren Serviceaufenthalt, ist DB0SIG seit dem 12. Juni 2022 wieder auf Sendung. An der Hardware selbst wurden keine Änderungen vorgenommen. Alleine der Aufbau wurde etwas stabiler gestaltet (der 3D-Drucker muss ja schließlich genutzt werden) und nach dem Einsatz von roher Gewalt lässt sich der Deckel des Gehäuses nun auch tatsächlich ordnungsgemäß schließen. Auf der Softwareseite wurde der etwas betagte, aber noch einwandfrei funktionierende, Raspberry Pi der ersten Generation mit der neuesten stabilen Software versorgt.
The Setting
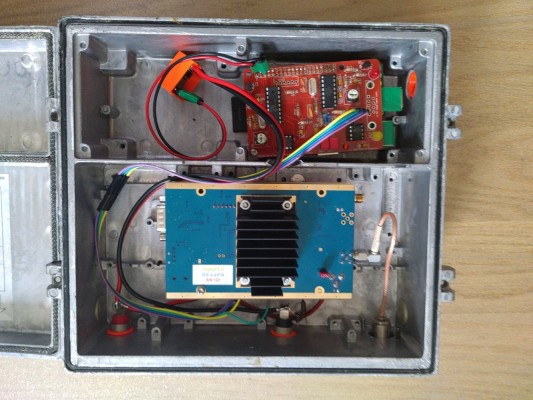
DB0SIG has been running for some years on the same hardware setup. This setup consisted of an old Alinco mobile radio and a TNC with APRS-Digi firmware. In the beginning the TNC had occasional bit flips what did not strengthen my confidence in the system. So, as time allowed, I ordered some new parts to assemble a new and hopefully more reliable and flexible APRS digipeater.
The new Setup
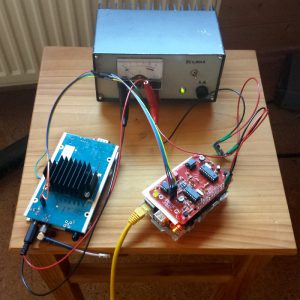
The new setup consists of the following parts:
…and this is how it looks all glued together. Obviously I forgot to buy a box.
Setting up the TNC-Pi
I ordered the TNC-Pi as a kit which apparently gave the guys at the German customs a little headache. After tracking said the packet arrived at the customs, nothing happened for almost two weeks. When I had almost given up on the project, the post woman unexpectedly delivered the packet after all. Building the kit by the manual worked very well. The only deviation I had was the voltage at the PIC being only 3V, not the stated 3.3V. After powering up the TNC-Pi on the Raspberry Pi, one has to disable the serial console that supplies debug output on the device /dev/ttyAMA0. This is the port where the TNC-Pi connects. For this I removed all references to the device from the boot command line in /boot/cmdline.txt and added enable_uart=1 to /boot/config.txt. After that and configuring kiss as stated in the manual, kissattach still failed. Some research brought me to the solution that you have to remove the line
T0:23:respawn:/sbin/getty -L ttyAMA0 115200 vt100
from the file /etc/inittab. One reboot later, everything worked as expected.
Setting up the RS-UV3
The RS-UV3 required some minor modifications to run with the power amplifier. The more interesting part was powering up the device to see if it is really working. As I had no USB-to-serial adapter at hand, I used an Arduino with the soft serial example as a simple interface and Minicom as the terminal.
The Software
On the Raspberry Pi, Raspbian was already installed. On the APRS side, I use APRX which can be downloaded here. OH2MQK provides .deb packages ready for the Pi. These can be identified by the armhf (instead of the i386) in the filename. When the file has been downloaded onto the Pi, the installation reduces to a simple dpkg -i aprx_2.08.593-1_armhf.deb. The final task was to adapt the configuration in /etc/aprx.conf to my needs. As the file is very well commented, it is easy to come to a working setup. In the long run some parameters may need some fine tuning. For example, I activated the telemetry but it generates a lot of traffic so I will probably deactivate it once the setup has been running stable for some weeks.